The Contact the Artist page on your FASO site is where your website visitors go to fill out the Contact form with their personal information. When they click Submit, they send their message to you.
You will then receive an email in your Admin Email address account, subject line:
A Client Contact From Your Website with FineArtStudioOnline.com (YOURDOMAINNAME.COM)
You can also check messages from your FASO control panel.
See this FAQ:
FASO Messages - Check Message Log for Contacts from your Website
Add Personal Message
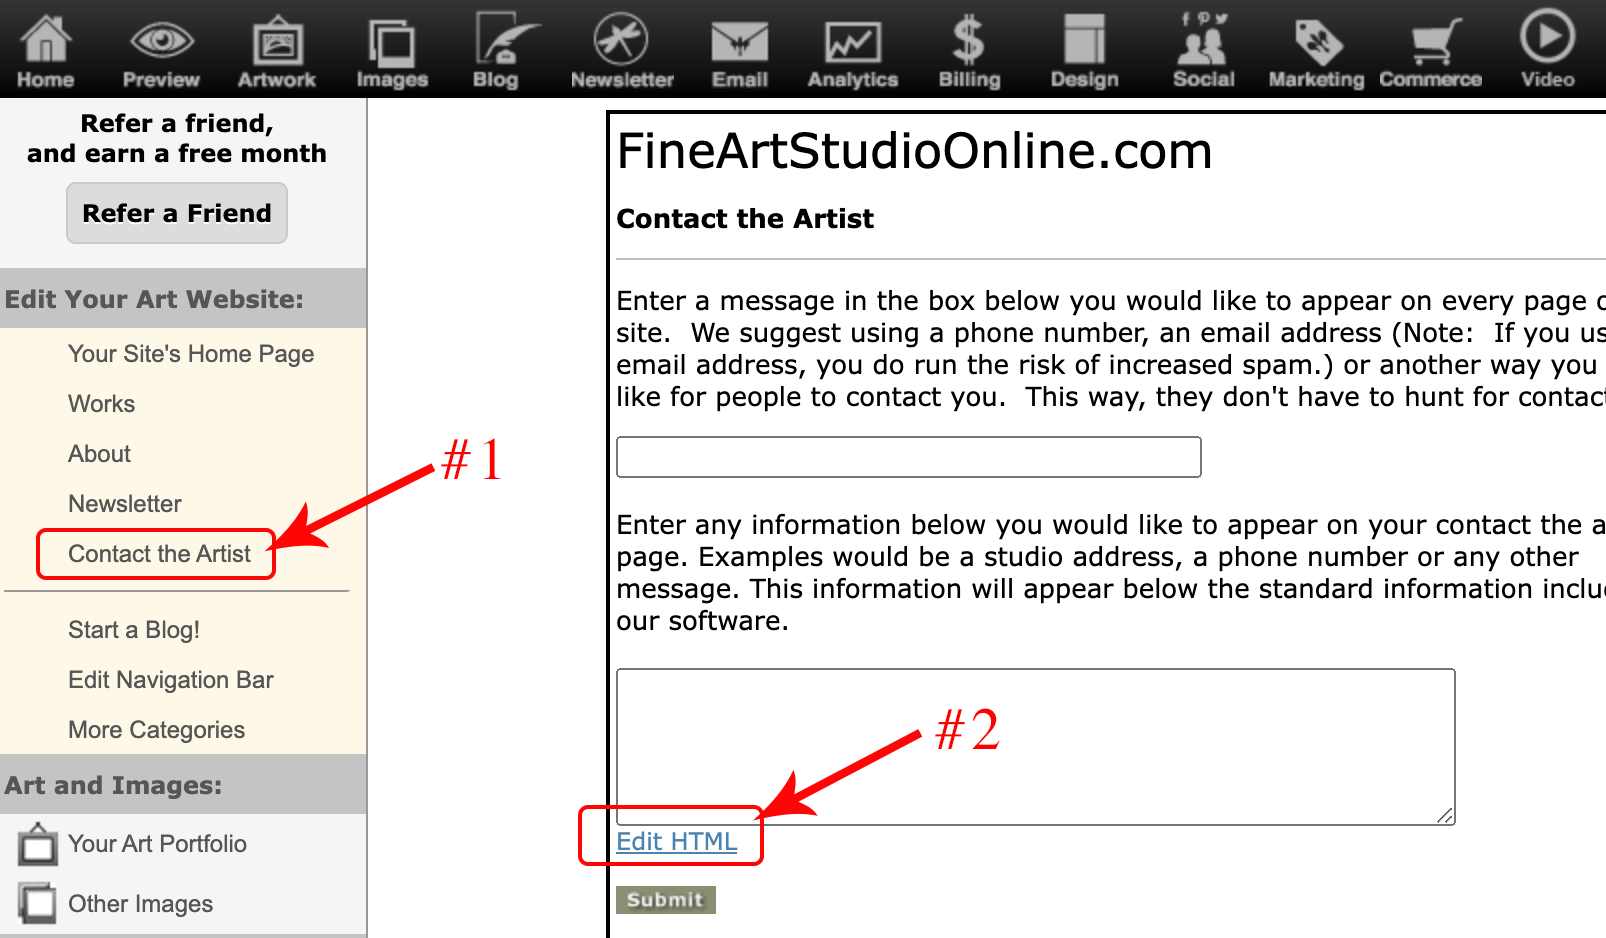
- login to FASO Control Panel
- click Contact the Artist (left column)
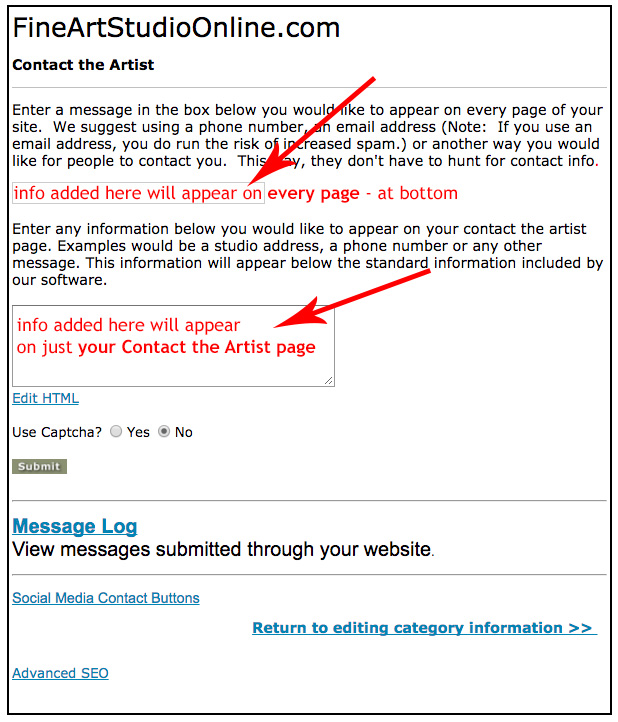
- add or remove text in one of the 2 text fields
- info entered in the top box shows at the bottom of every page on your site
- info entered in the lower box shows just on the Contact the Artist page
- when finished, click Submit
Add Image
- from FASO Control Panel
- click Contact the Artist (left column)
- click Edit HTML
- click Image icon (top row)

- A window will pop up with three ways to add an image:
- Add a New Image from Your Computer
- Use an Image that you've already uploaded
- Use an Image from the another Website
- click on your preference
- locate your image
If you choose Use an Image that you've already uploaded, click on the thumbnail to select it - click 'Insert Medium Image', 'Insert Large Image' OR 'Insert Original Image' (we recommend Medium)
- click Save and Exit
Note:
When adding Text and Image, you can do both at the same time using the Edit HTML option.
Resize Image
If your browser shows little white boxes all around the image, you can simply drag one of the corner boxes to resize the image.
If not, then follow these steps:
- click on the image to select it
- click on Edit Image Properties pop up box (small yellow box above image, top left of page)
- for Dimensions fields, add desired pixel dimension to the Width field. The Height dimension will automatically adjust.
This ensures that the picture is re-sized proportionately. - click Update or Insert (lower left)
You may need to scroll down to see the Insert link on the pop up screen - click Save and exit button (top right)
Add a Link to Subscribe to your Newsletter
- obtain the url for your subscribe page (go to live site, click on Newsletter, copy url in address bar)
- on Contact the Artist screen, click Edit HTML
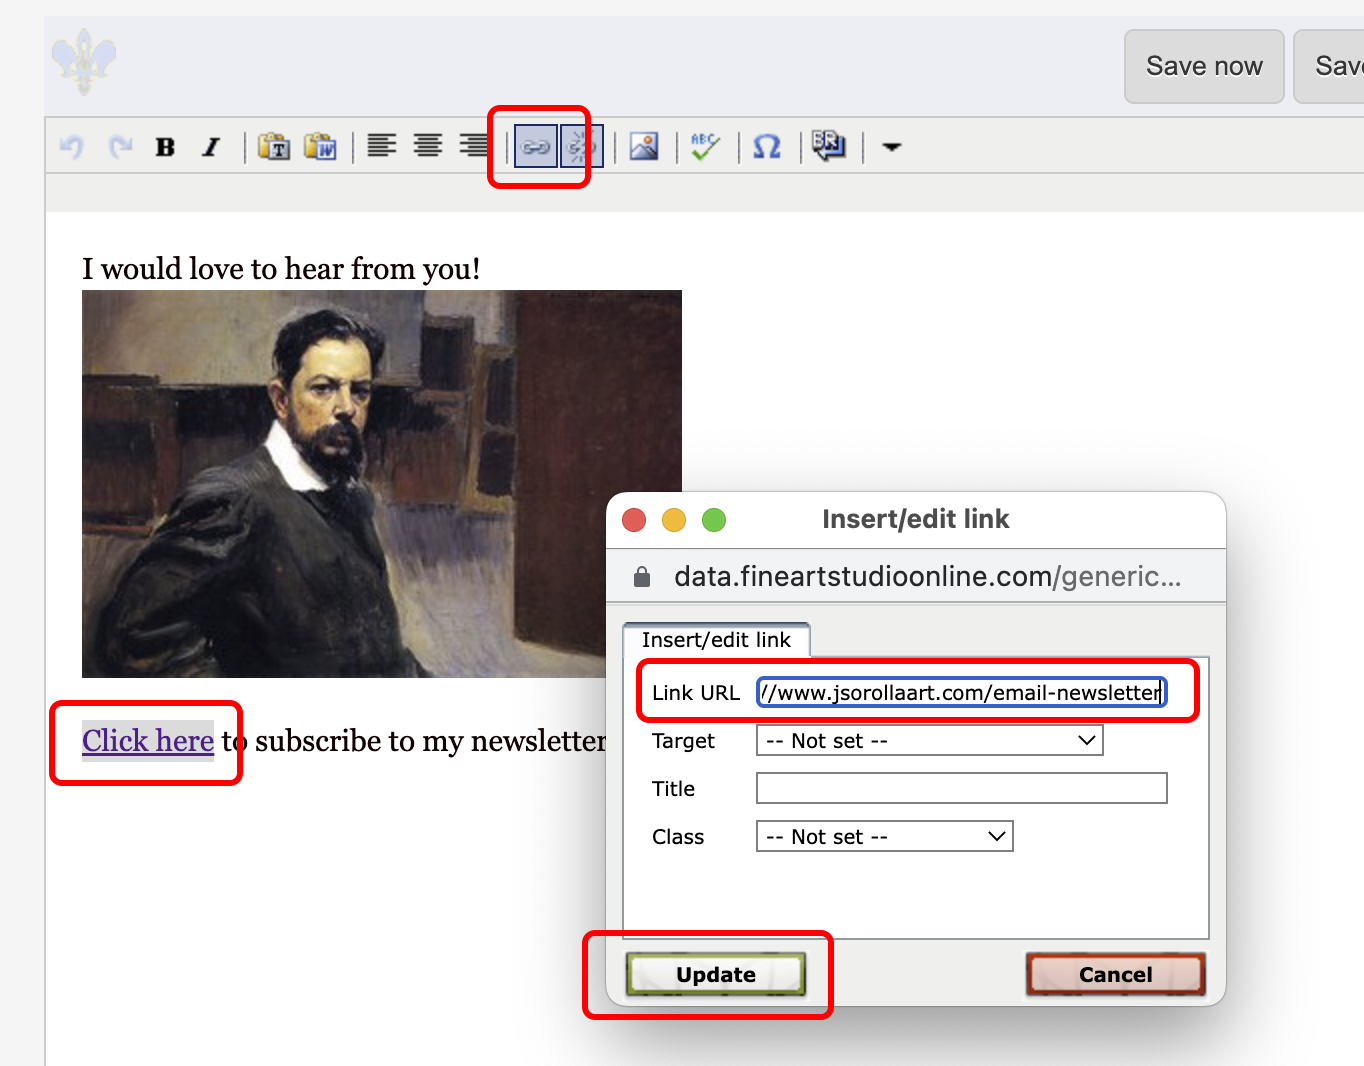
- add text, like Click Here to Subscribe to my Newsletter
- highlight your text
- use Insert Link icon, add url
- Update
- Save
NOTE: the Contact the Artist screen will contain the actual html code. That will not display that on your site.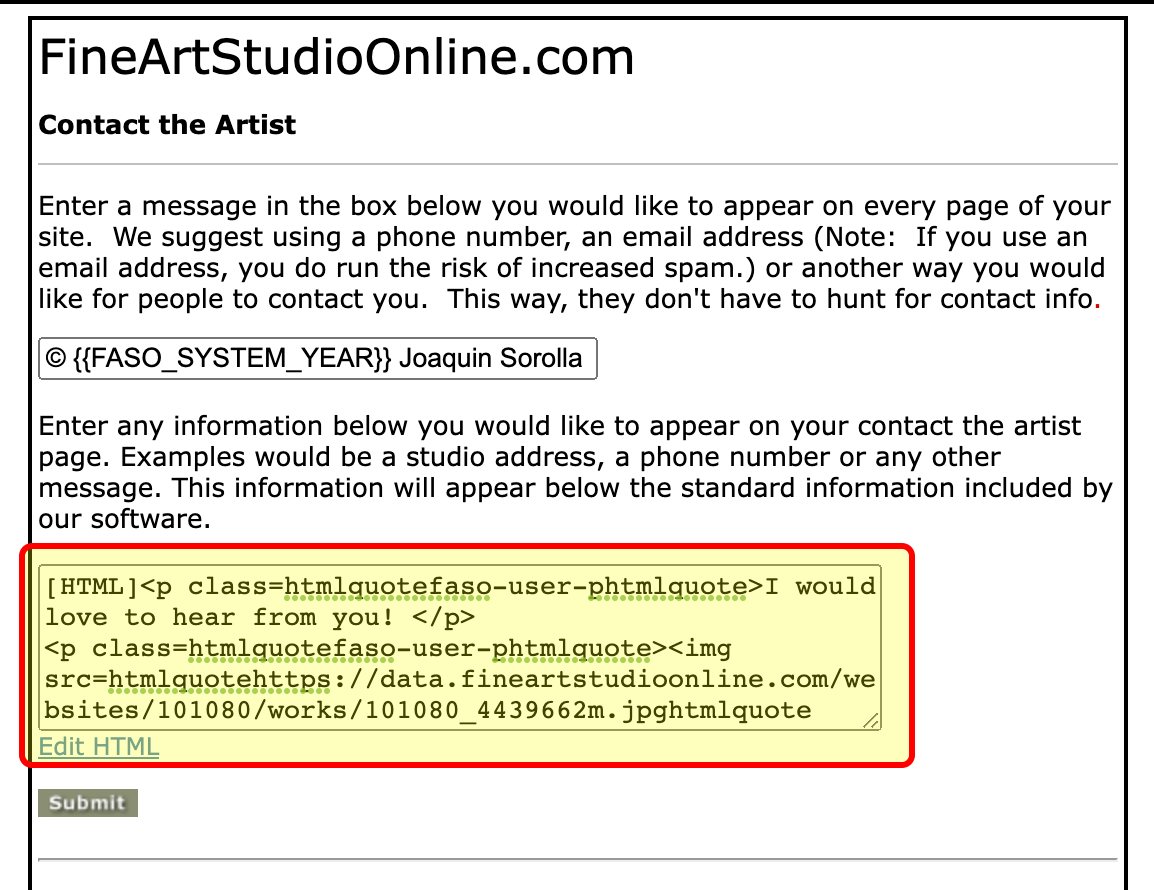
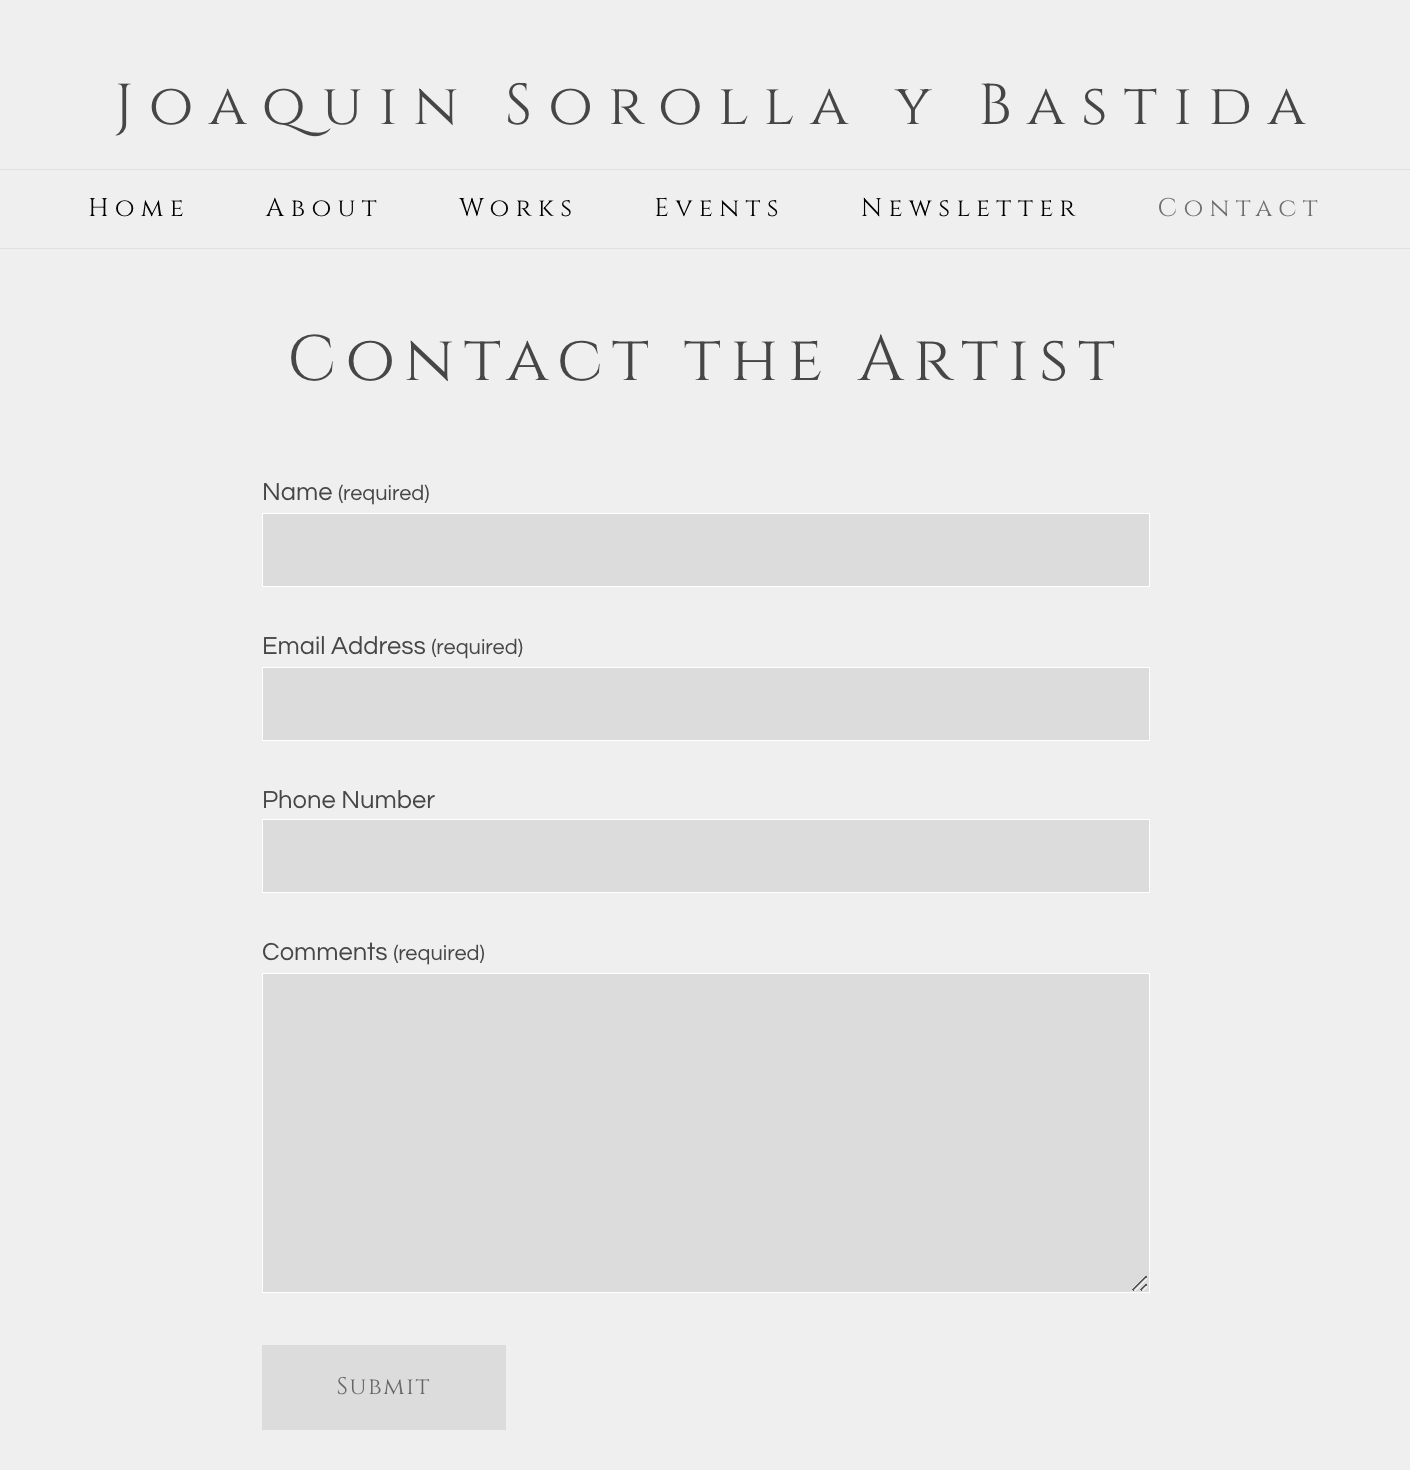
Before
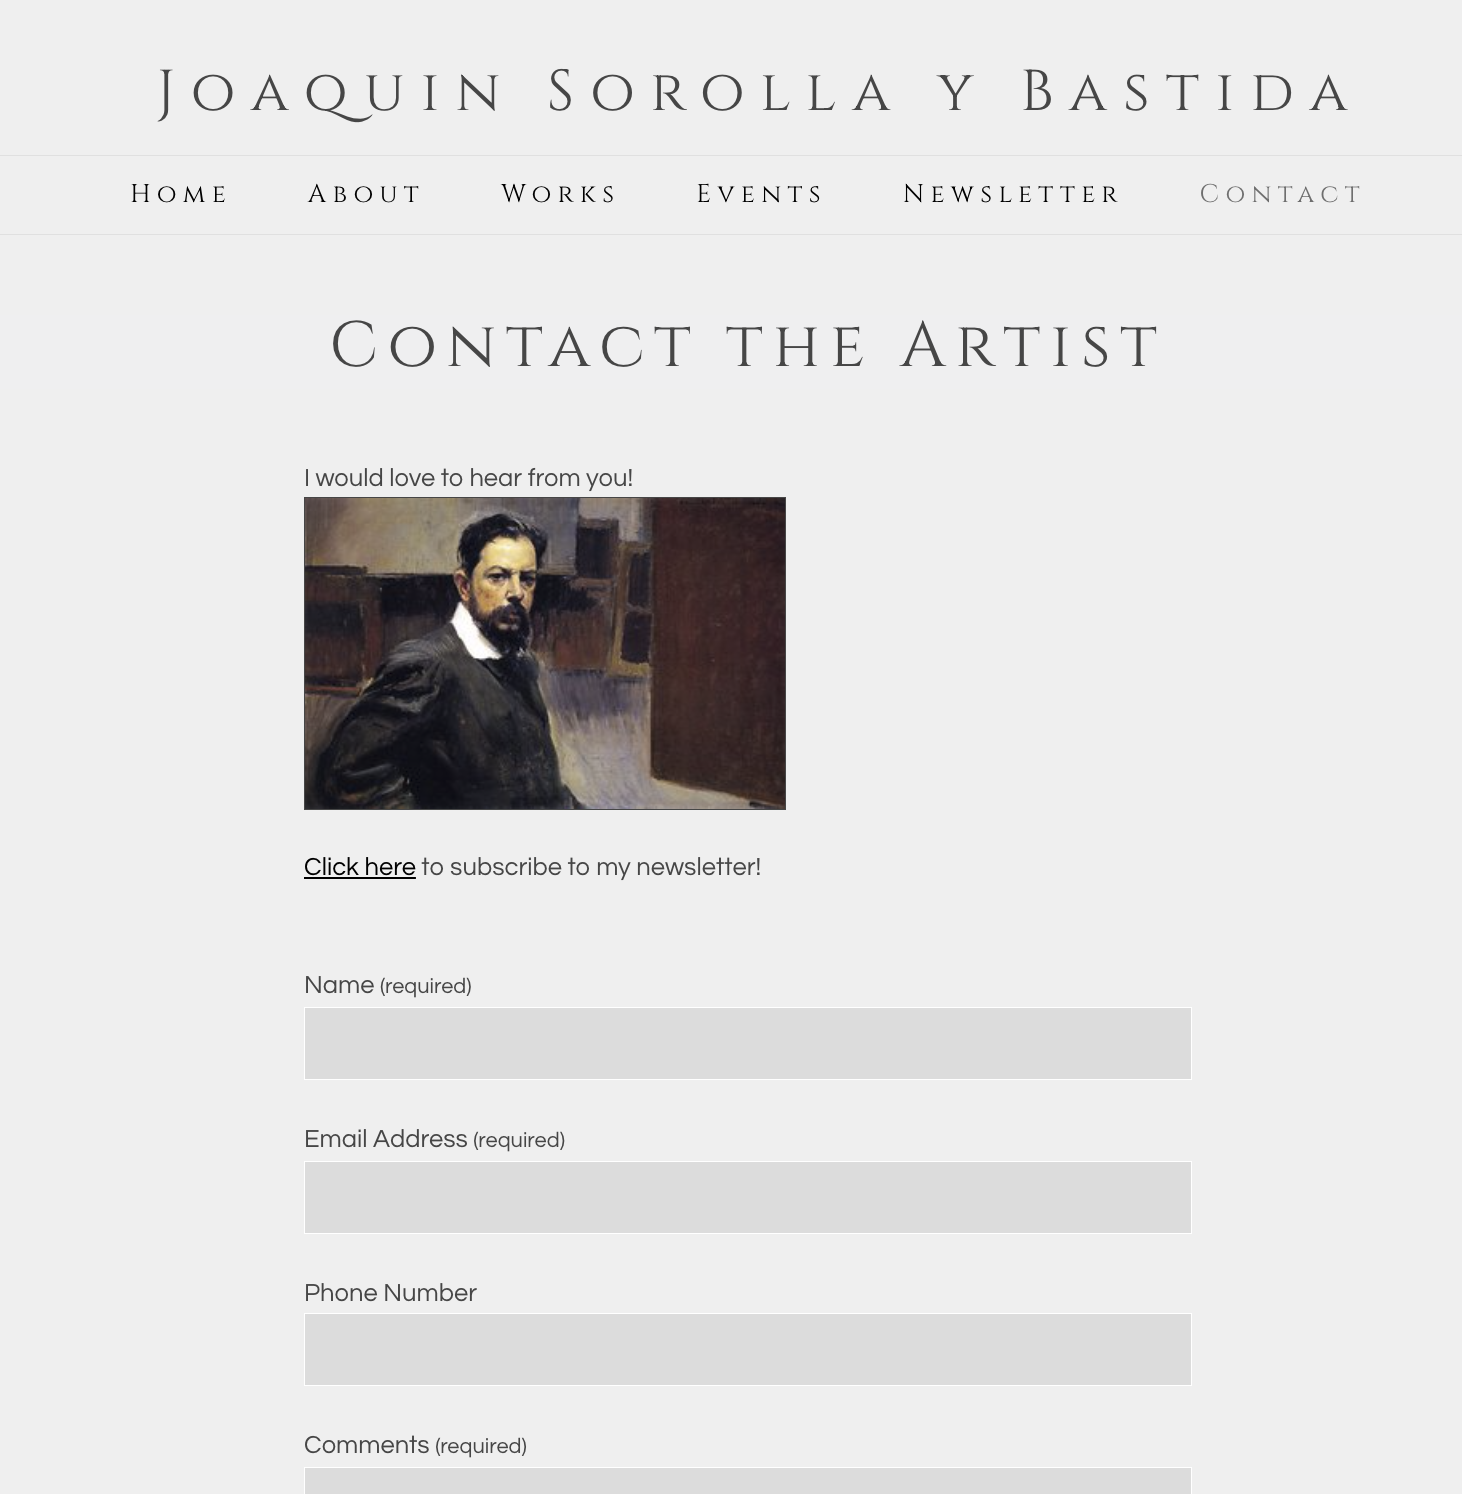
After
NOTE: We do not recommend that you display your email address on your website.
It is better to let clients submit the Contact the Artist form (which is emailed to you by our system). Then YOU can respond to legitimate contacts and then legitimate people will have your email address.
It IS OK (and we DO recommend it) to display a phone number if you would like to receive calls. It is ultimately your decision.
See this FAQ for more info:
Can I display my email address on my site?
If you are not receiving messages from your Contact page, see this FAQ:
If You Are Not Receiving Messages Submitted via Your Site
05032023