First:
Create an artwork image you want to add the Framed price to. Save it somewhere easy to find, such as on your computer desktop.
Then:
- From FASO Control Panel
- Click Artwork icon (upper row)
- Click on thumbnail image in left column (or Edit in right column)
- Click Additional images of this art work (to the right of the image)
- Click Select Image (blue button under Click to Add a Framed Image)
- Click Upload
- Find your image and double-click on it to select and open it
- Click Upload (blue button)
- Click Continue (green bar)
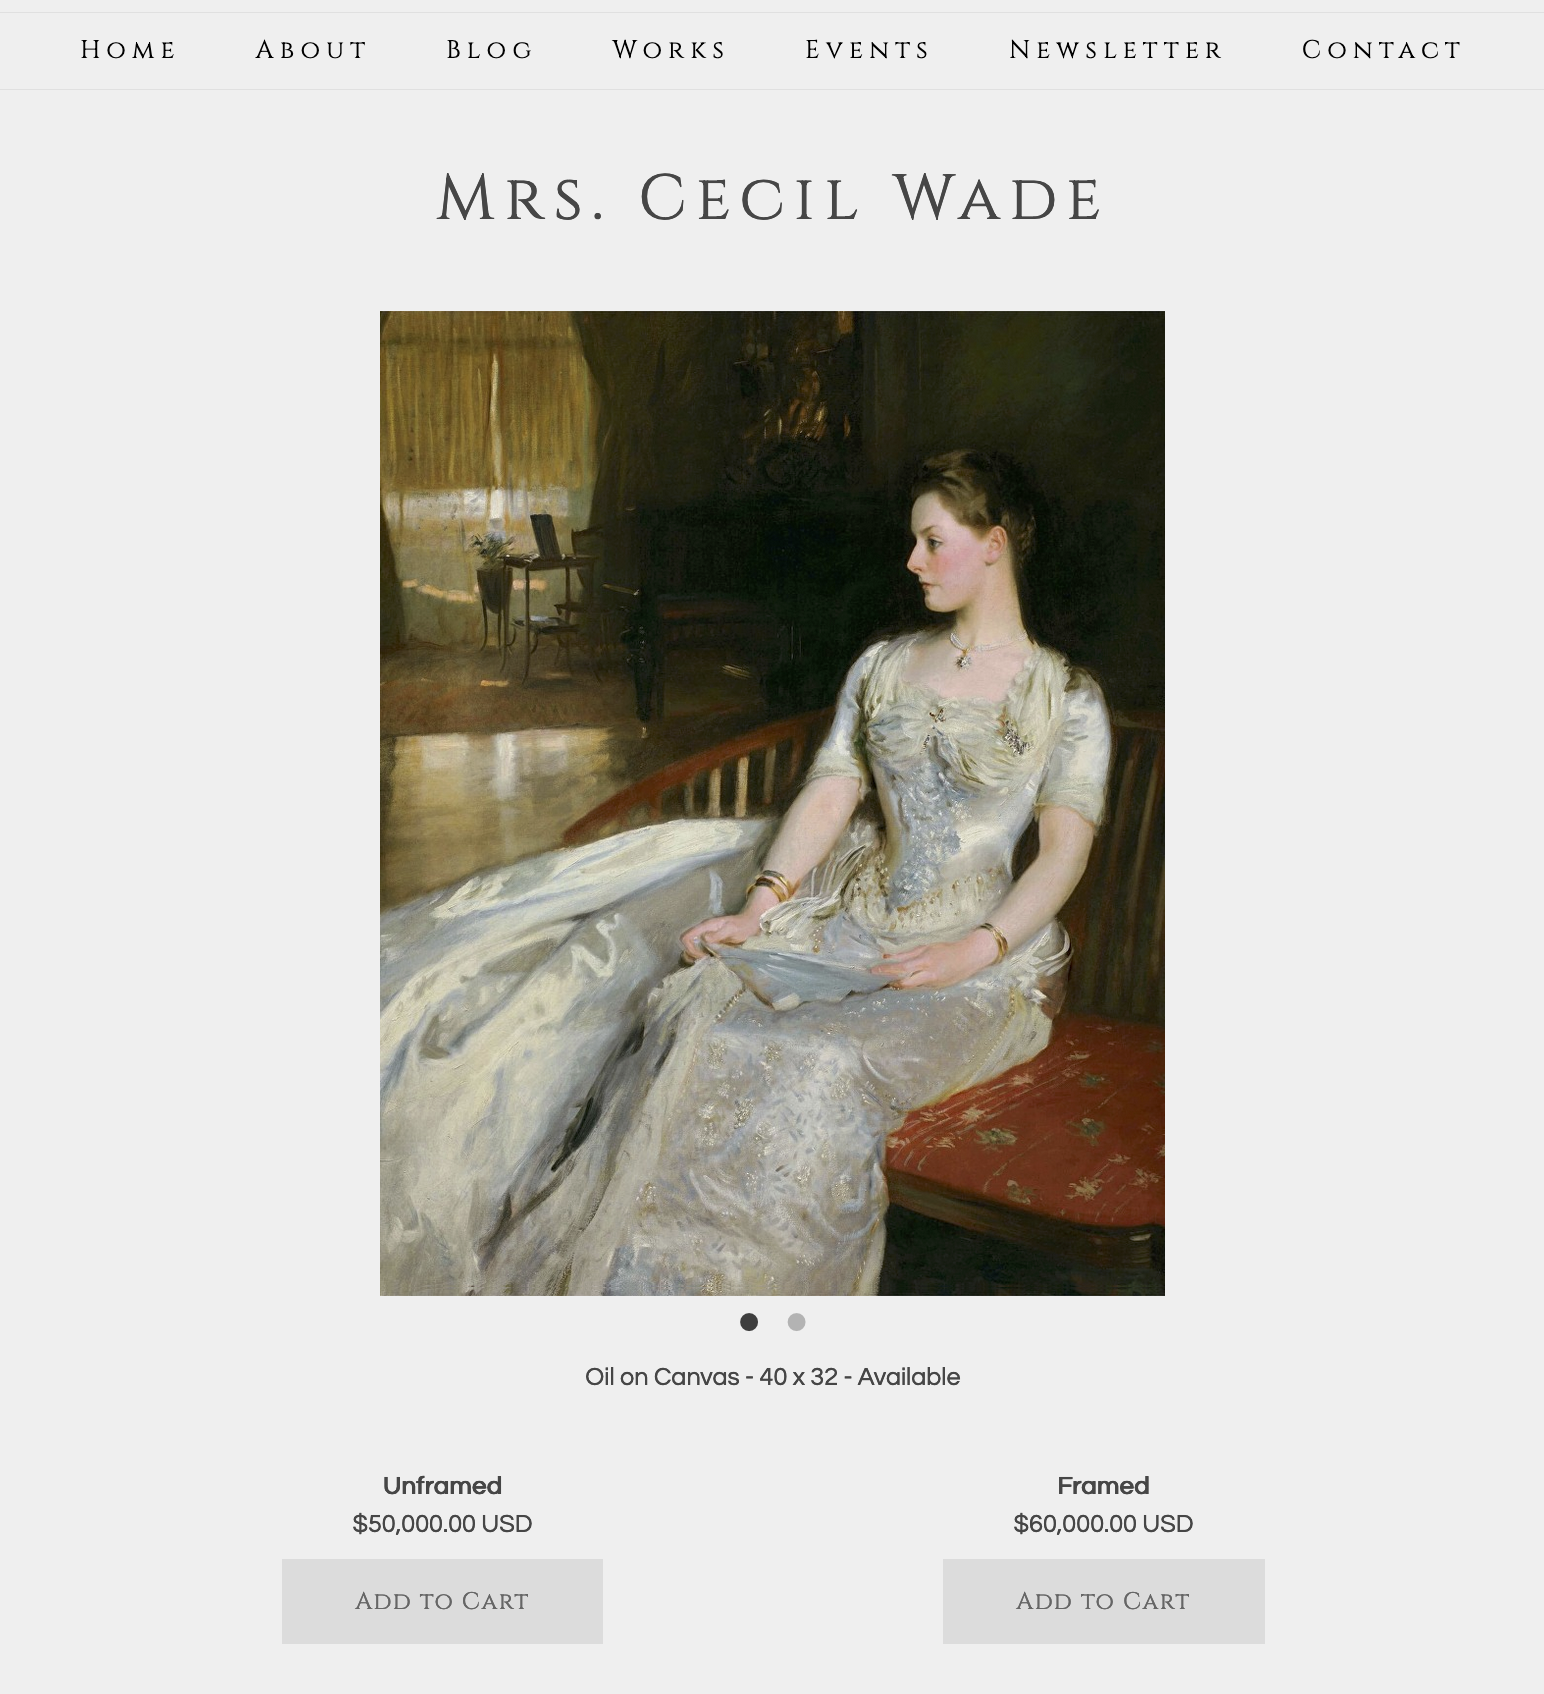
You will see both your Unframed and Framed Images on the screen.
NOTE: The screen auto saves, you will not see a message indicating that it has been saved
- Click Back button

-
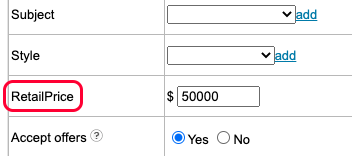
For RetailPrice, enter your unframed price
(* see info below if you only want the Framed Add to Cart button on your website)
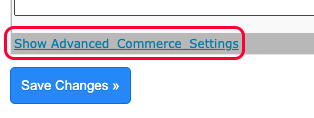
- Click Show Advanced Commerce Settings (blue link, bottom left)
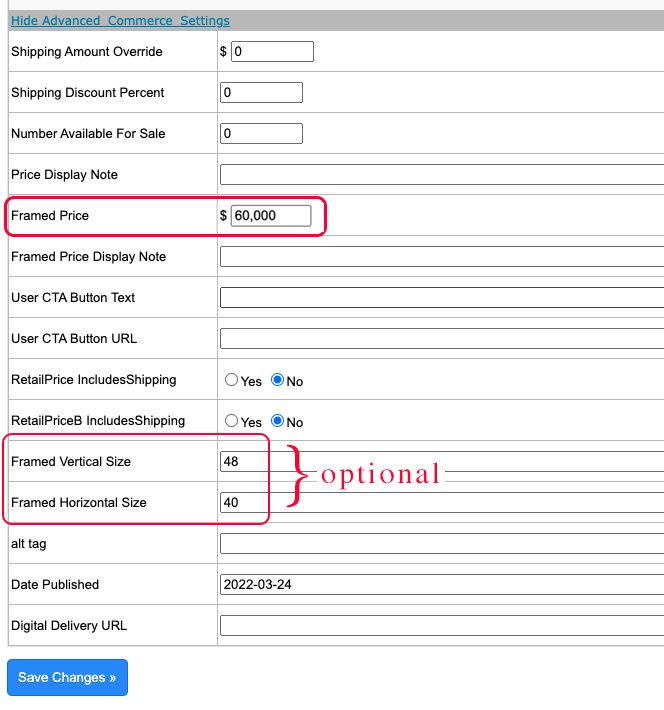
- For Framed Price, enter price
- Optional: add sizes for Framed Vertical Size & Framed Horizontal Size
- Click Save Changes (bottom left)
NOTE: If you choose to have the Retail Price include the shipping you can easily select Yes for both the RetailPrice (unframed option) and RetailPriceB (framed option) in the Advanced Commerce Settings screen.

Website View:
Only Display Framed Add to Cart Button
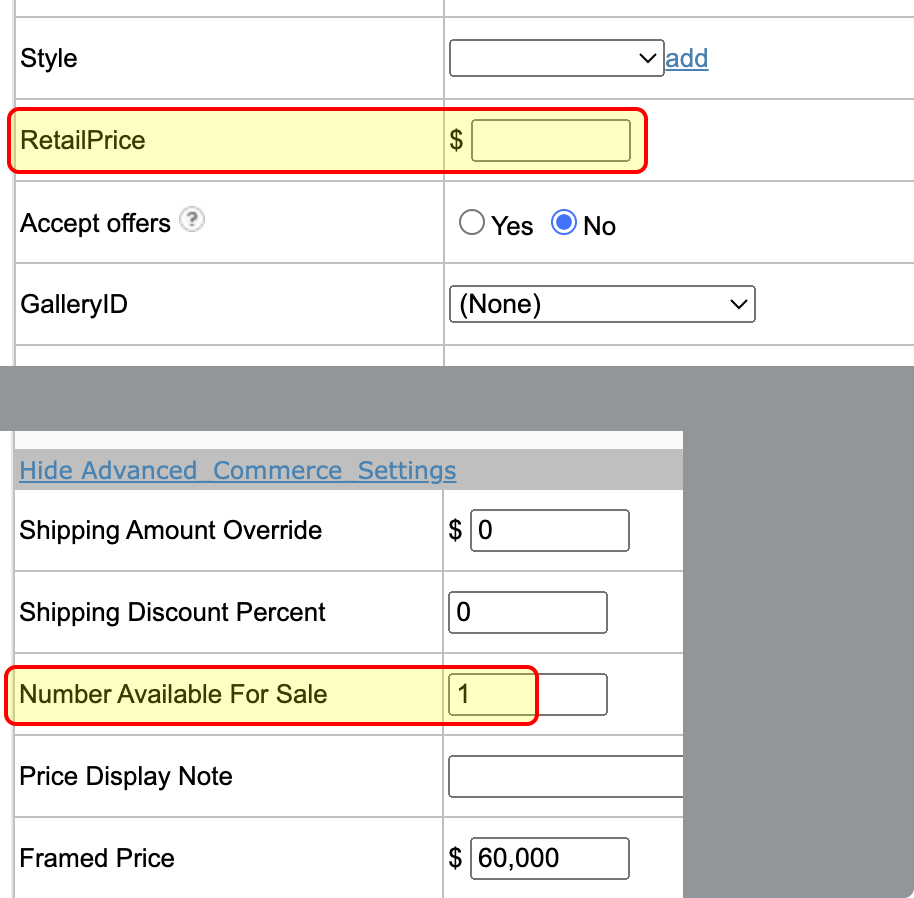
If you only want the Framed Add to Cart button on your website:
- leave the RetailPrice field empty
- under Advanced Commerce Settings add a number to the Number Available for Sale field

NOTE: you can also use the Unframed and Framed settings to sell a choice of Prints / Note Cards that have only 2 options. See:
Add a Buy Now Button with Multiple Choices
You can also use the Editing feature to add a virtual frame on your 2nd image.
See this FAQ:
Edit the Appearance of an Uploaded Image
Also see:
Show Additional Views of Artwork, Framed, Unframed, etc.
08152023
