You can show multiple views of an artwork, such as
- detail of piece that shows brushwork, texture
- a view of the art framed
- different views of a 3D sculptural piece
There are 2 ways to accomplish this:
1. Add images directly into the description text field.
(covered in this document)
2. Use the FASO built-in feature that creates a "slideshow" of the images.
For this option, see FAQ:
Multiple Images per Artwork - Show Additional Views, Framed, Unframed, etc.
The following info outlines the process of adding multiple images to the Artwork Description text box.
Upload Images to Images folder
- login to FASO Control Panel
- click Images icon (upper row)
![]()
- click Add a New Non-Art Image
- follow the prompts
- click Next
- click Continue
It is helpful if you add a descriptive title to the Image Name field.
This field does not show on the website. The Image Name is for your reference only and enables you to locate the file.
Add Images to Artwork Description Field
- click Artwork icon (upper row)
![]()
- click on the thumbnail image (left column) of the image you wish to edit
- scroll down
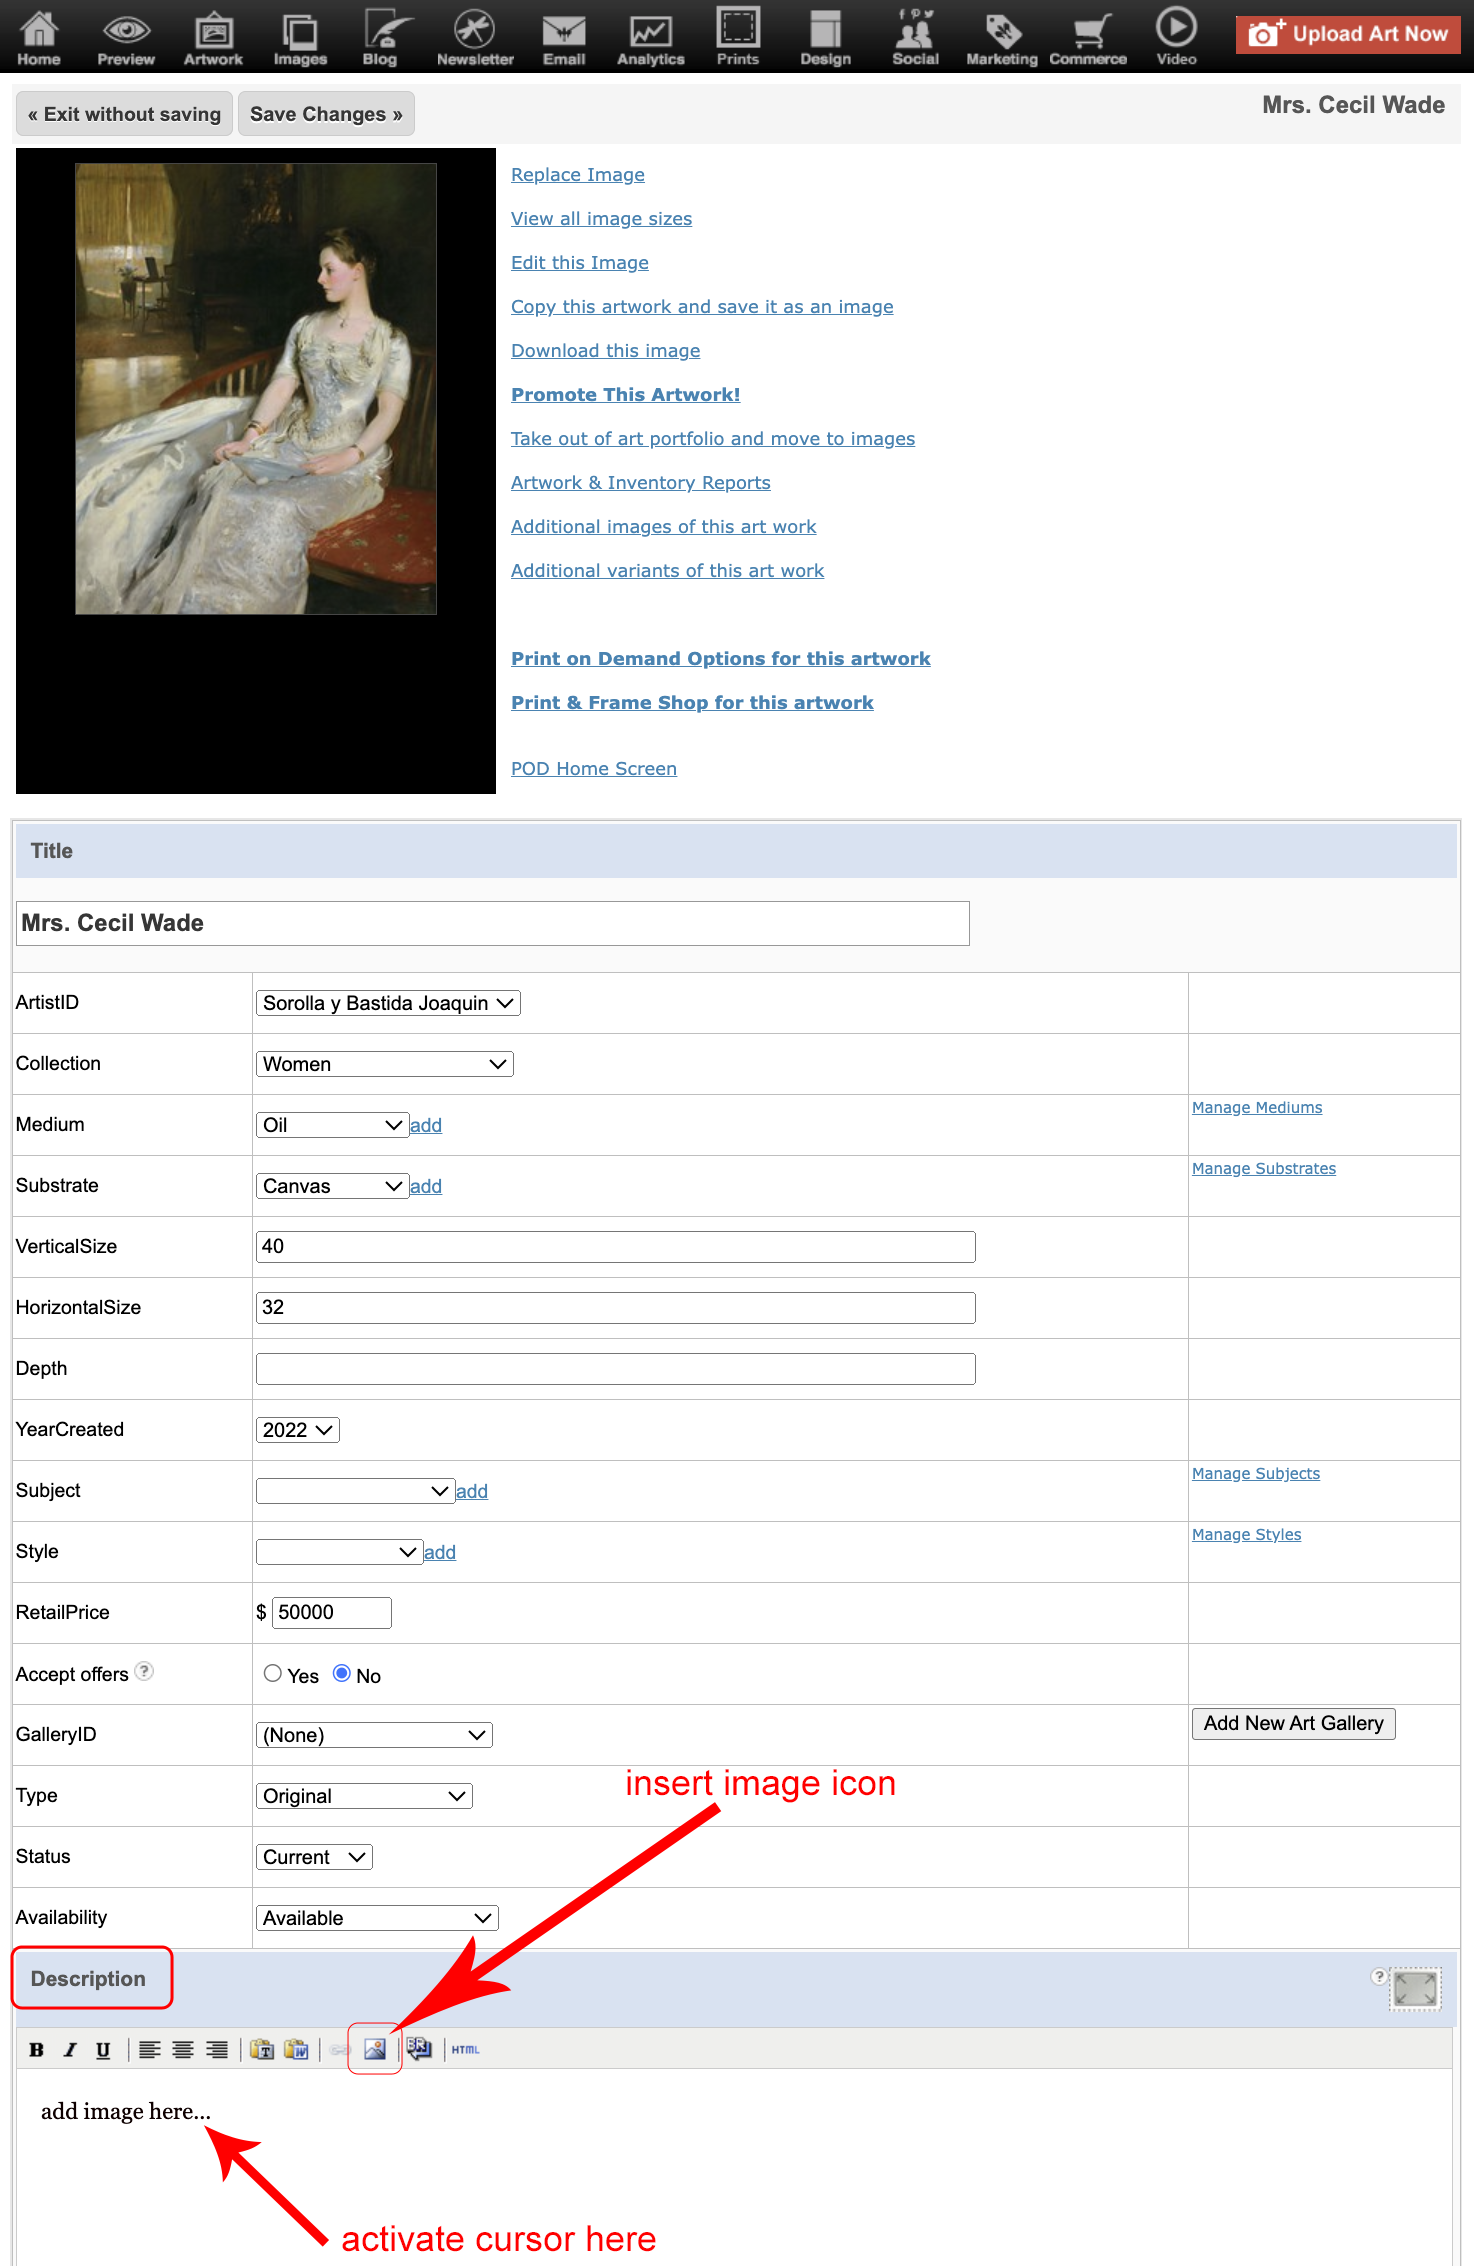
- place your cursor in the text box below Description
- click the Insert Image icon above the text box (looks like mountains/sun)
A window will pop up with three ways to add an image:
Add a New Image from Your Computer
Use an Image that you've already uploaded
Use an Image from the another Website
- click on your preference
- locate your image from the list
- click on the thumbnail to select it
- click 'Insert Medium Image', 'Insert Large Image' OR 'Insert Original Image'
- click Save Changes
'Insert Medium Image':
the image will show as a medium sized-image - 300 pixels in largest dimension.
'Insert Large Image':
the image will show as a large sized-image - 550 pixels in largest dimension.
'Insert Original Image':
the image will show as large as the original image you uploaded.
To resize the image:
- click on Full Screen Mode for Description (gray button, bottom left) or click the gray rectangular icon, upper right corner of text field
- click on the image to select it
- click on Image Options icon
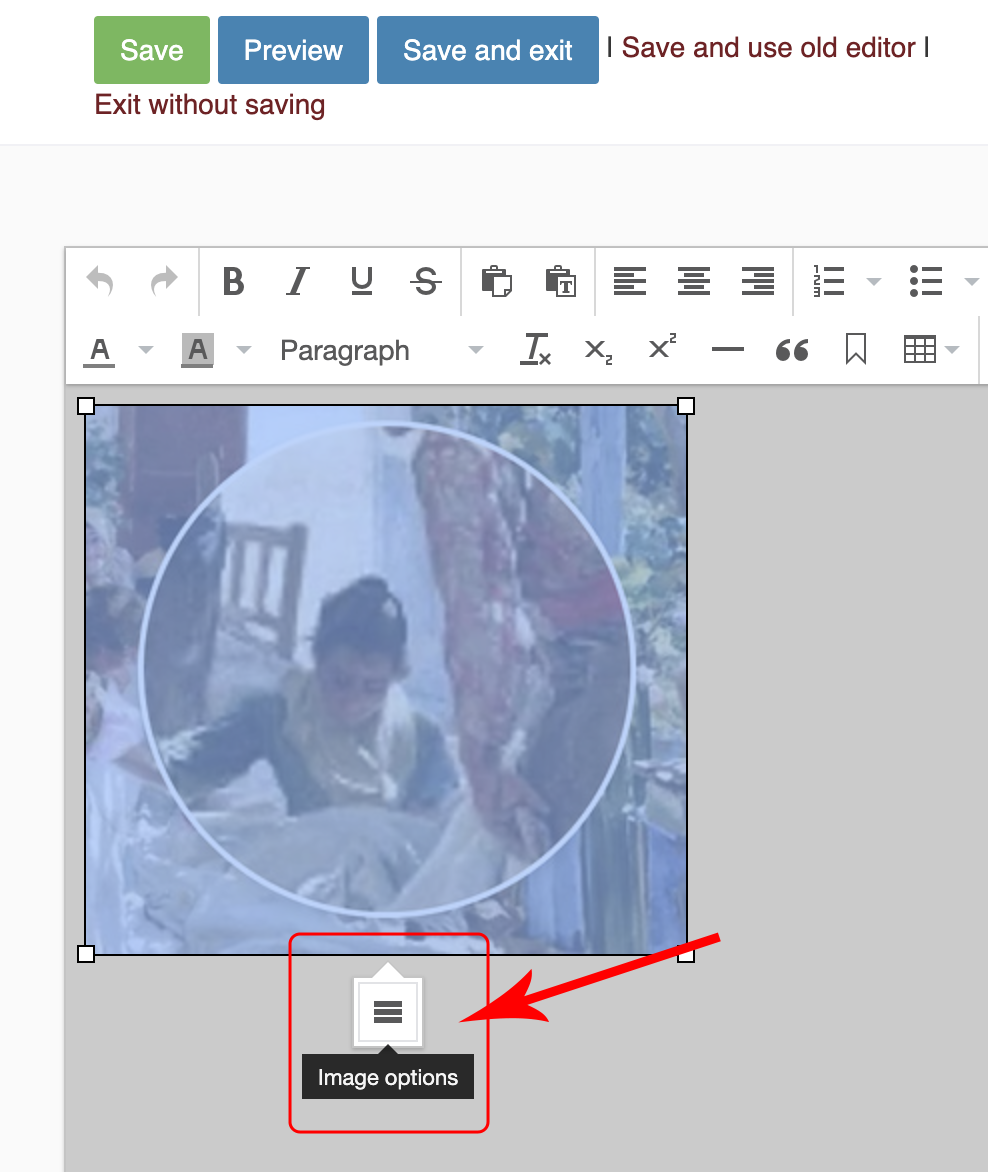
- for Dimensions field add desired pixel dimension to ONLY one field
The other dimension will automatically adjust. - make sure Constrain proportions is checked
This will assure that picture is re-sized proportionately - click Ok
- click Save and exit button (top left)
- click Save Changes
NOTE: Please do not make the 300 or 550 pixel images larger. They will not be sharp. If you want to show an image larger than 550 pixels, you will need to insert a large Original image and then size it down (in most cases).
Examples
12182024